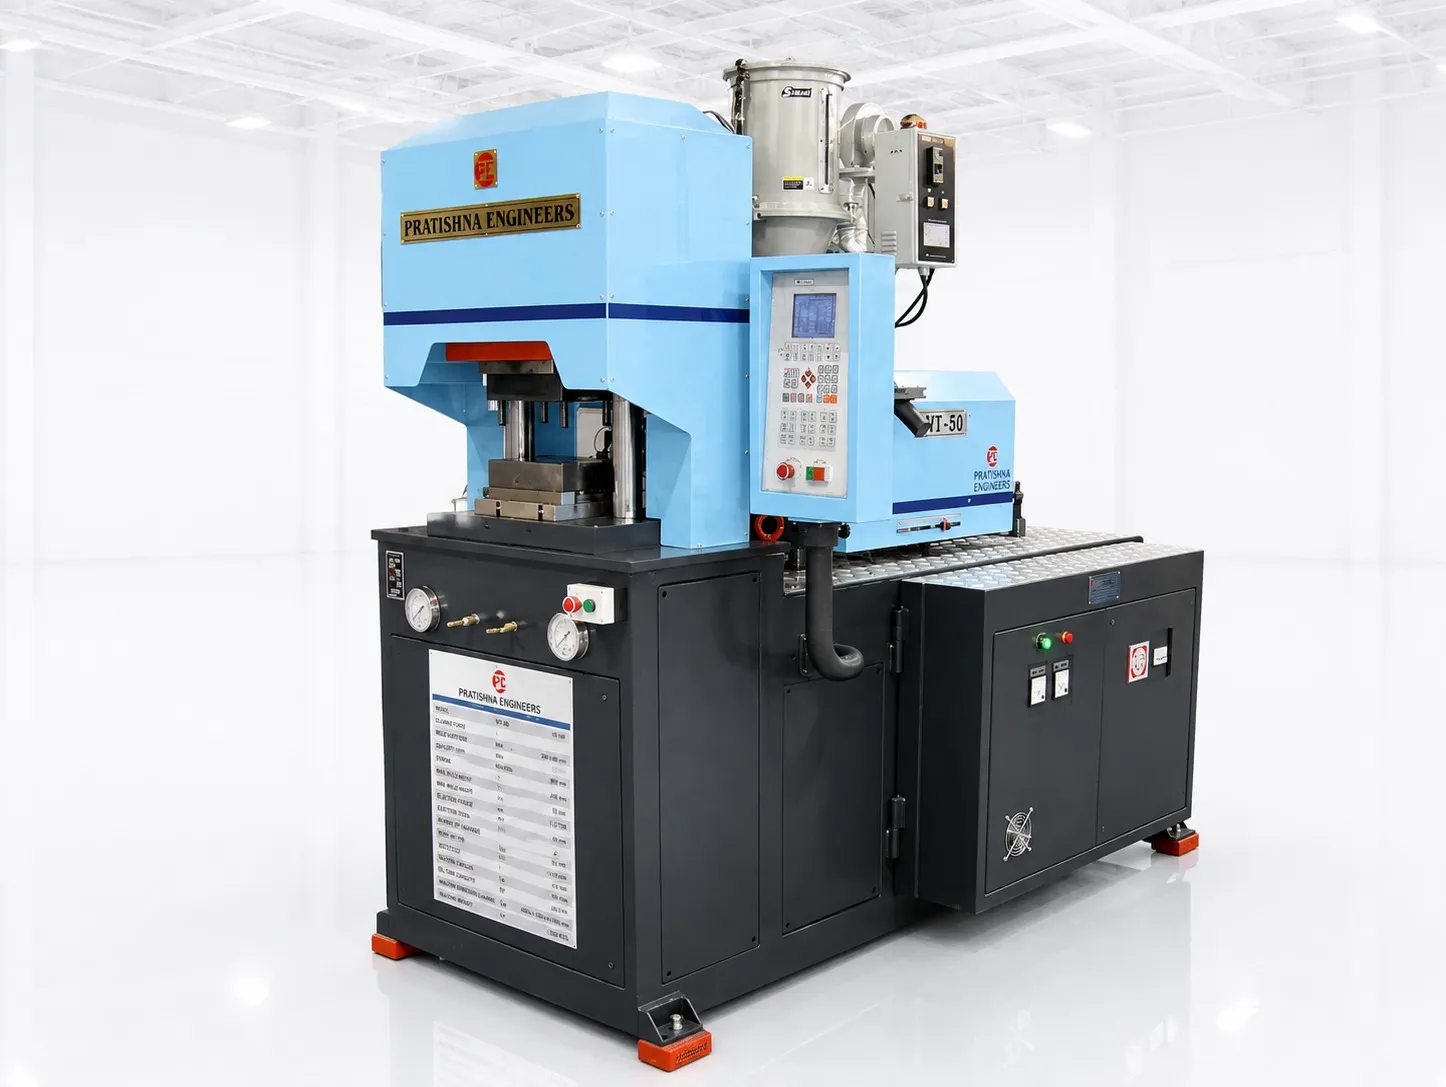
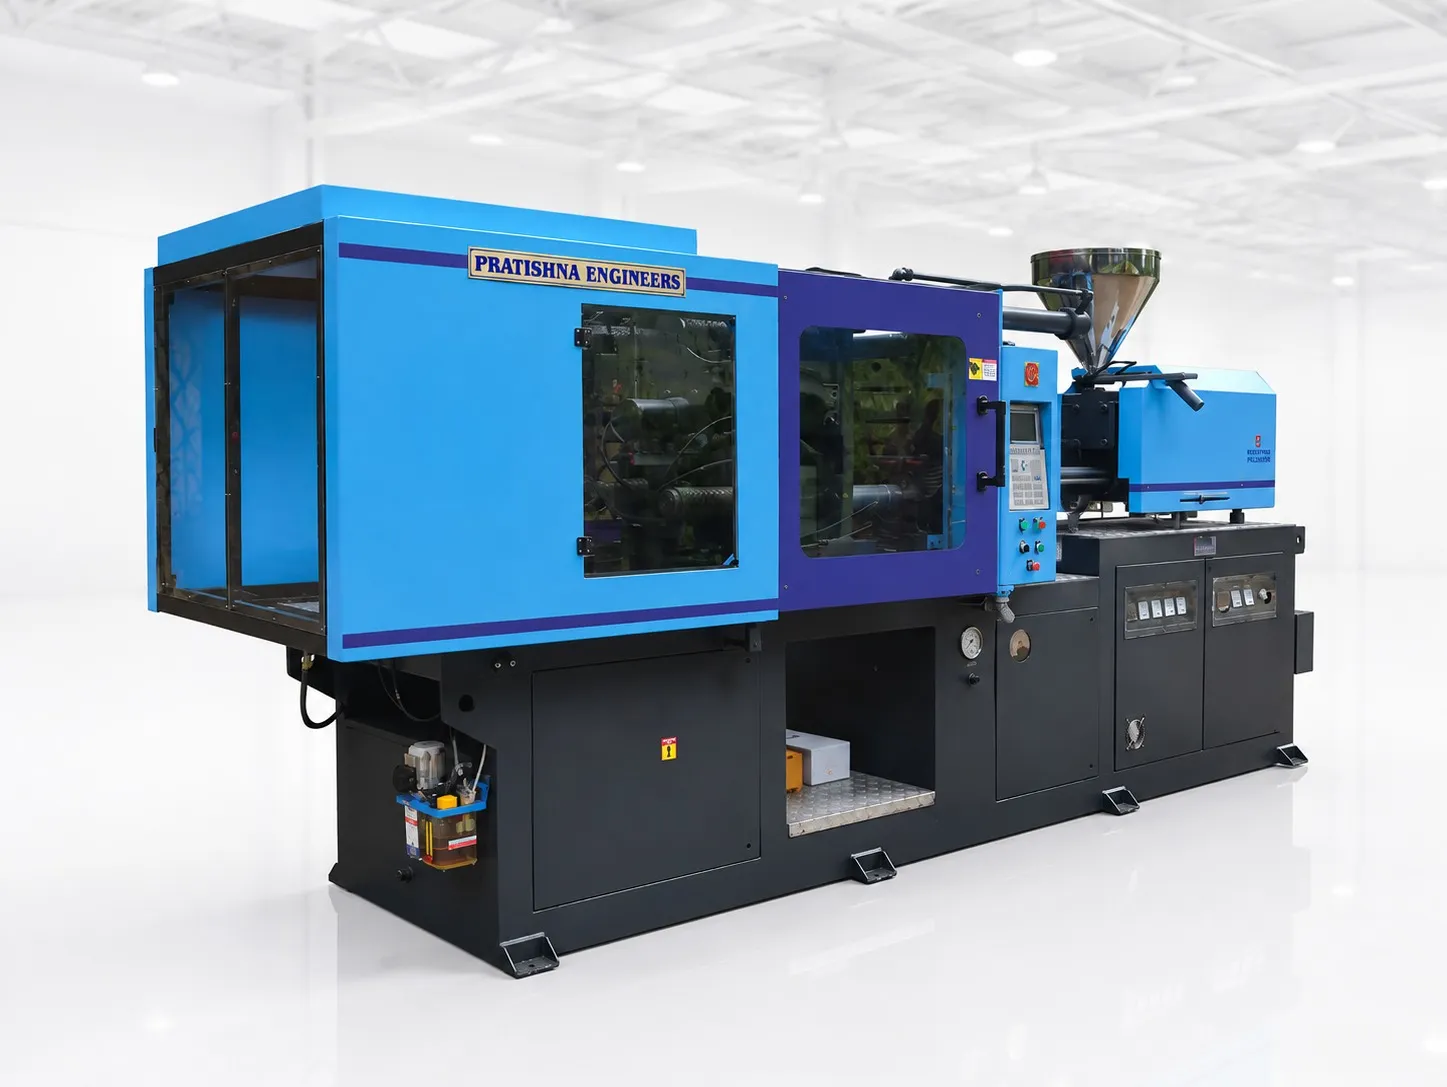
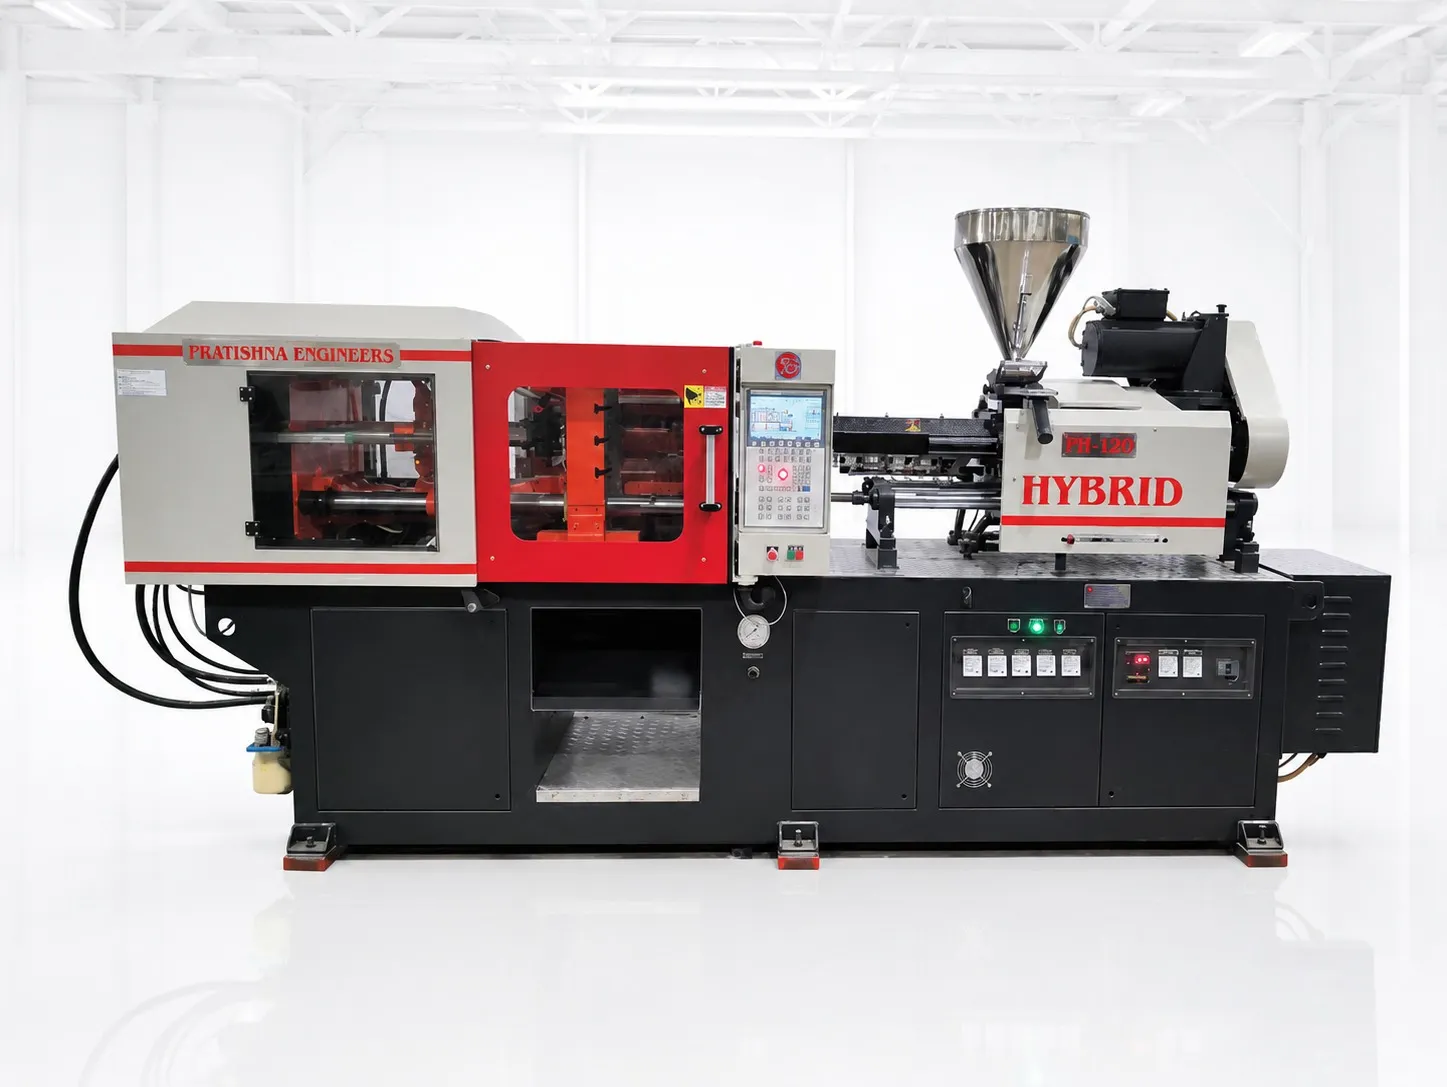
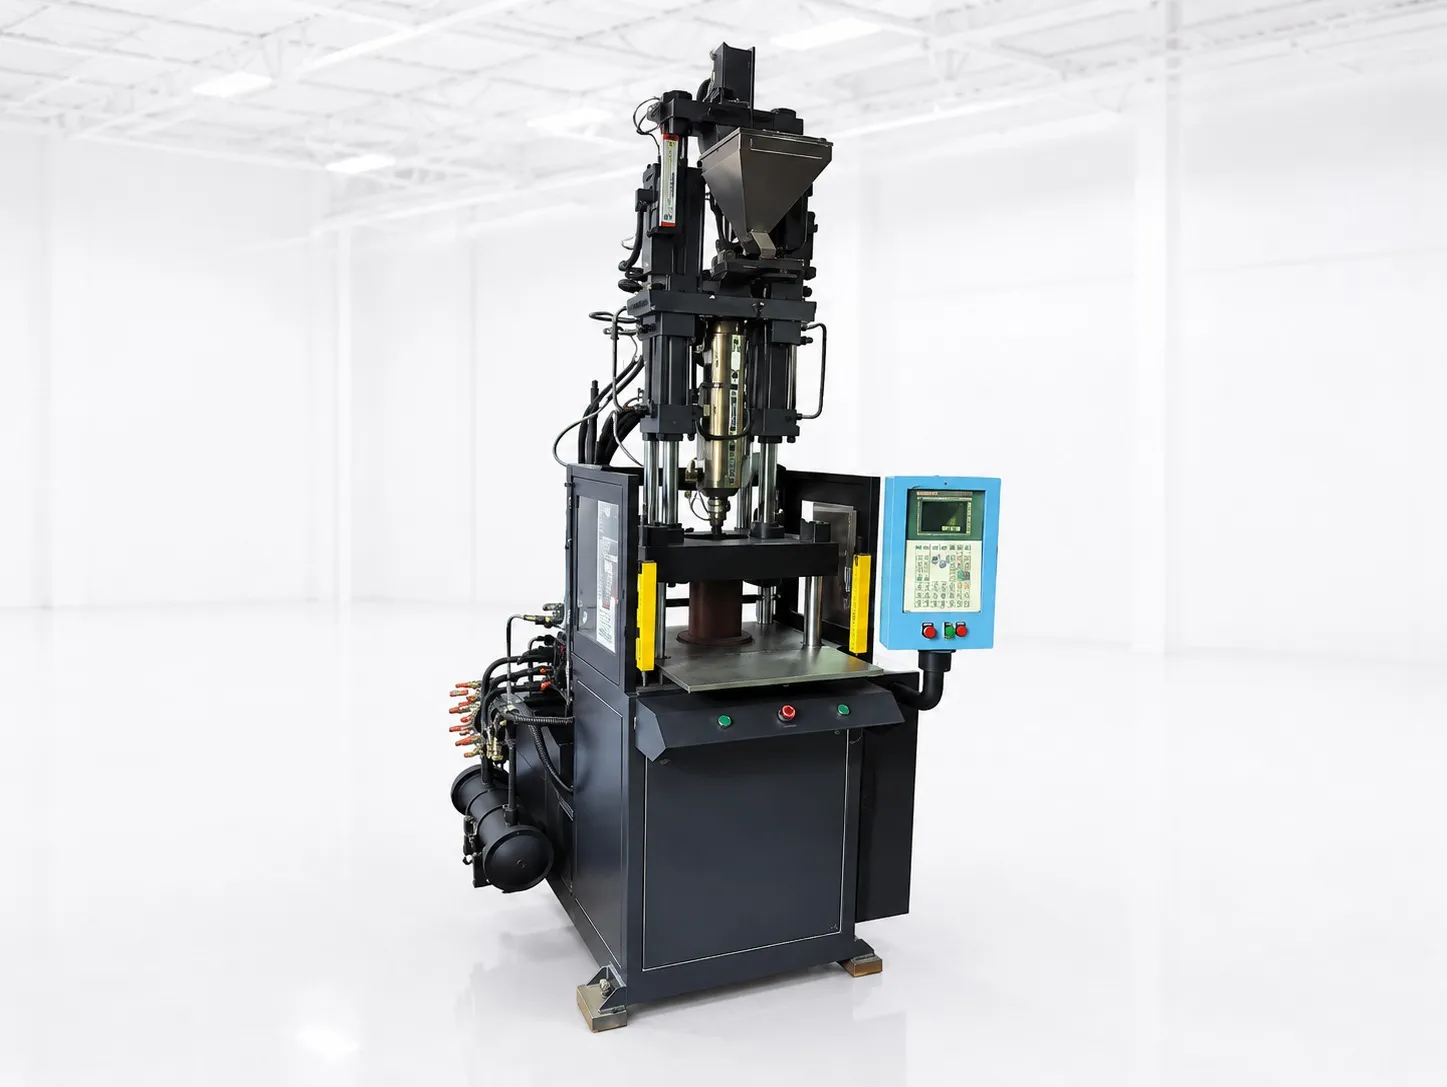
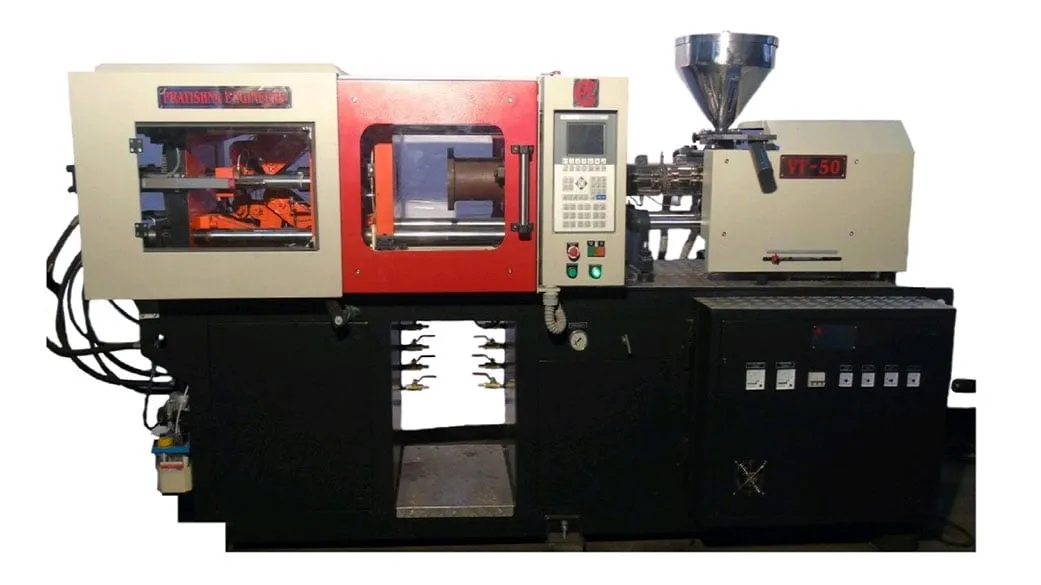

A plant head watches a 4-cavity mould run on a 30 s cycle, with roughly one shot in sixteen going to the grinder. The machine is not old and the operator is careful, yet output stays flat month after month. Before anyone asks for a faster machine, look at what the cycle and the scrap are made of. To improve injection moulding machine productivity, you work on cooling time, mould temperature, venting, setup and maintenance. This guide shows where the seconds go, which levers move them, and how to measure the gain on your own shop floor.
Key Takeaways
- Cooling often takes the largest share of the cycle; in one published trial it was about 85%, and it rises with wall thickness squared.
- Steady mould temperature and correct cooling water flow cut both cycle time and size scrap, often more than changes to injection settings.
- Clean, correctly sized vents and a planned mould change routine remove short shots, burns and long restarts that quietly eat output.
- Track good parts per hour, not shots per hour, so that cycle time and scrap improvements show up in one number you can compare.
Where does the cycle time actually go?
In many moulds the largest block of time is cooling, followed by injection and hold, mould opening, ejection and closing. Cooling time grows with the square of wall thickness, so a thick section can set the whole cycle. Measure each phase on the controller before choosing what to change.
In a published RJG trial on an 8-cavity ABS tensile bar 3.3 mm thick, about 85% of the cycle was cooling. The same source notes that only about 40% of the heat has to be removed before the part can be ejected, and suggests adding about 20% to the calculated cooling time as a safety factor. A cooling timer padded well beyond that margin is worth questioning.
Wall thickness is the strongest lever, because it is squared in the cooling equation. A wall 20% thinner needs about 36% less cooling time (0.8 × 0.8 = 0.64), while doubling a wall can need three to four times the cooling. If the part design can lose a thick boss or a heavy rib, the cycle gains more than any machine setting can give.
The machine's own movements usually matter less than the cooling timer. Dry cycle, the time to open and close with no moulding, is typically 3 to 5 s on general machines and 1 to 2.5 s on thin-wall machines. On a 30 s cycle, shaving a second off the dry cycle is worth far less than finding three seconds of excess cooling.
Productivity levers on an existing machine
| Lever | What it changes | How to check it |
|---|---|---|
| Cooling timer | Largest share of cycle | Trim in steps, measure part size |
| Water flow and channels | Heat removal rate | Flow meter, inlet and outlet temperature |
| Vents | Short shots, burns, flash | Inspect at each mould service |
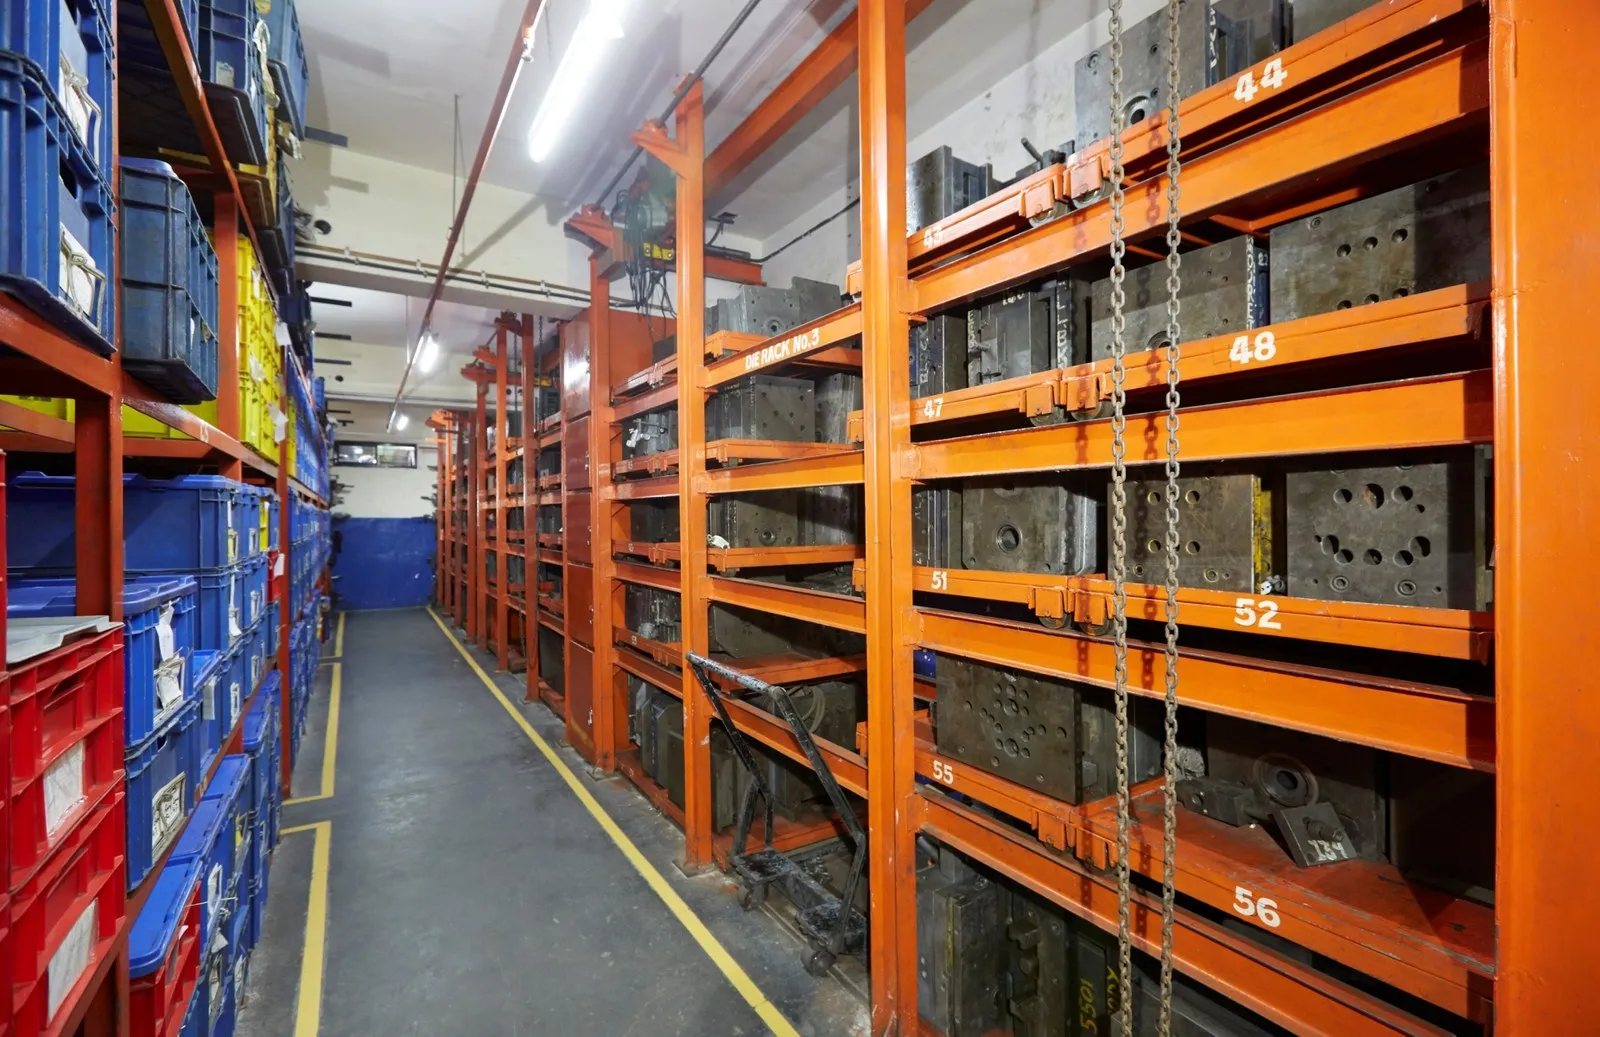
| Mould change routine | Restart time and scrap | Log first-good-part time |
| Idle and standby | Energy per good part | Clamp-meter reading at idle |
How do you improve injection moulding machine productivity without a new machine?
Start with the mould and its cooling: correct water flow, steady mould temperature and clean channels. Then trim the cooling timer against measured part quality, fix venting so fills are complete, and standardise setup. These steps raise good parts per hour on the machine you already run.
Cooling channels scale up with use, and a partly blocked line slows heat removal on one side of the mould. Better cooling usually comes from more water flow through larger, unlooped lines rather than from colder water. That matters for running cost too: raising chilled water temperature by 1 °C cuts chiller cost by about 3%, so running colder than needed costs money without speeding the cycle.
Vents decide whether air leaves the cavity before the melt arrives. Shallow or coined vents cause short shots, burns, voids and dimensional variation, and they push operators to raise pressure, which brings flash. Vent depth has no fixed number; one method deepens vents in small steps until whisker flash appears, then backs off slightly. Repeated clamping can close vents over time.
Power is the other cost per part. Under MSEDCL kVAh billing in Maharashtra, energy is charged on kVAh, so poor power factor is paid for directly; at a power factor of 0.85, 15% of the power drawn does no useful work. A capacitor bank or APFC panel sized for the moulding bay protects the gains you make on the cycle.
How do setup and maintenance cut scrap and downtime?
Setup and maintenance decide how many hours the machine actually moulds good parts. A written mould change routine, preheated moulds, checked water and air connections and a maintenance plan for screws, check rings and heaters reduce restarts, scrap after changeovers and unplanned stops.
Changeovers are where output disappears without anyone noticing. Stage the next mould, its water hoses, hot runner cables and the approved process sheet beside the machine before the current job ends. Record the first-good-part time after each change; once that number is visible on a board, teams tend to work it down.
Idle time costs more than it looks. Measurements reported in trade press show idling machines drawing 52% to 97.5% of their full moulding energy, and idle periods longer than about 1.5 hours may be cheaper to switch off and restart. The same source notes that rising energy use on an unchanged job can be an early sign of screw or barrel wear.
Keep wear parts on the shelf: heater bands, thermocouples, a check ring and common seals. A stopped machine waiting two days for a thermocouple loses far more than the part costs. Chasing a faster dry cycle before you have fixed cooling, vents and changeovers is the wrong order of work.
What should you measure first on your own shop floor?
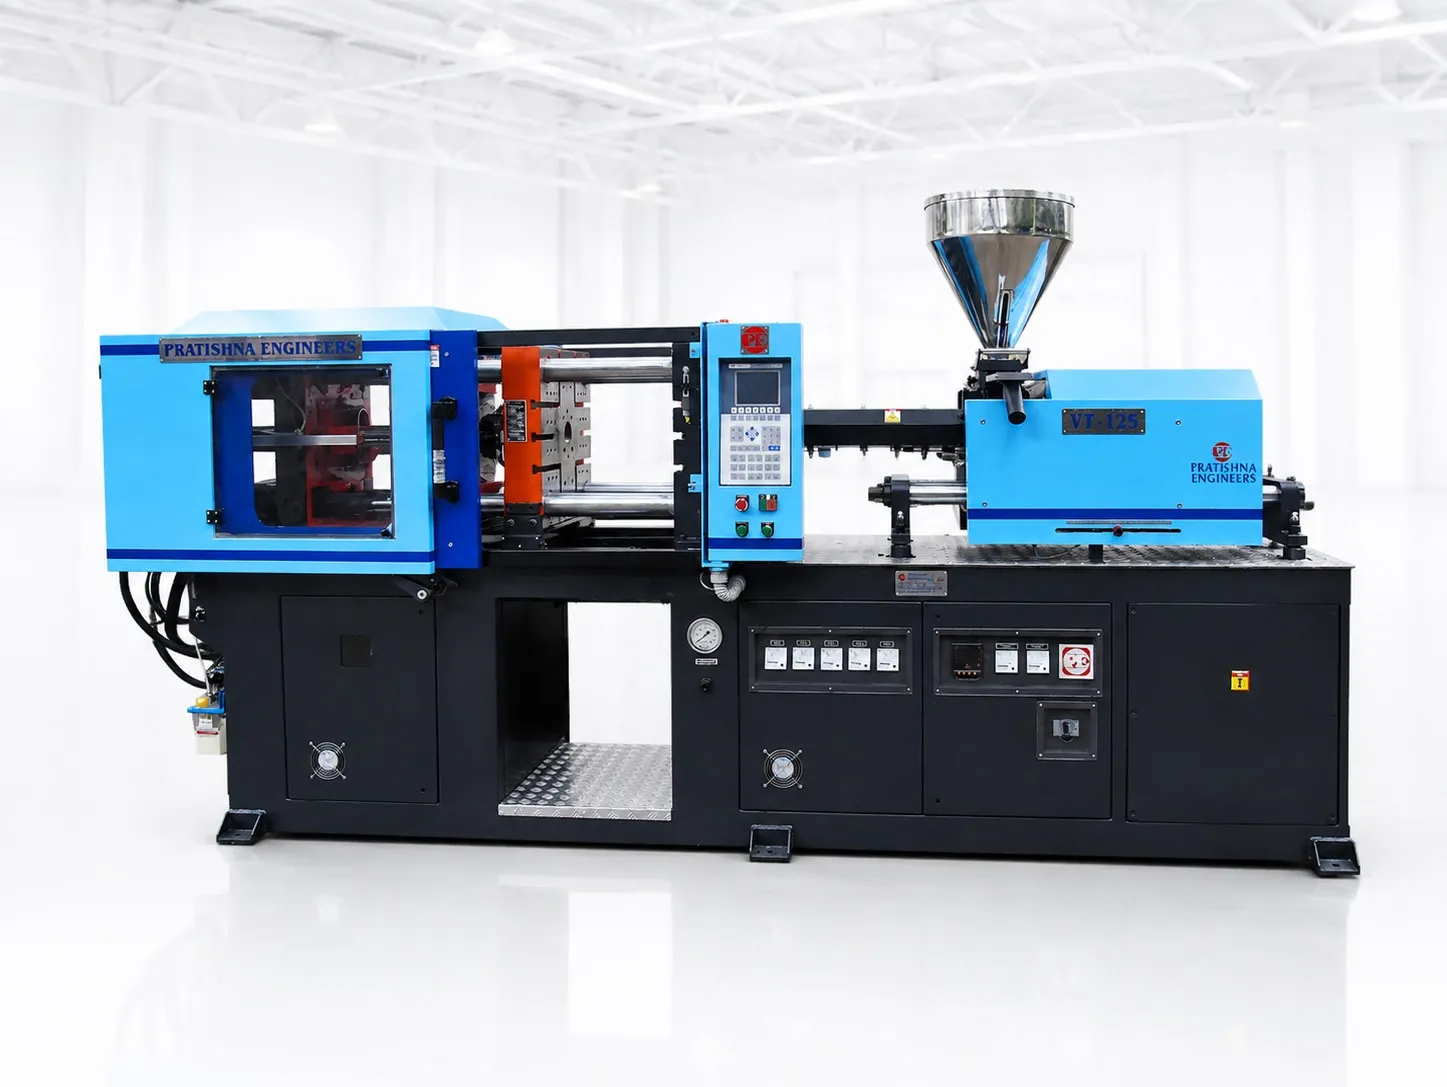
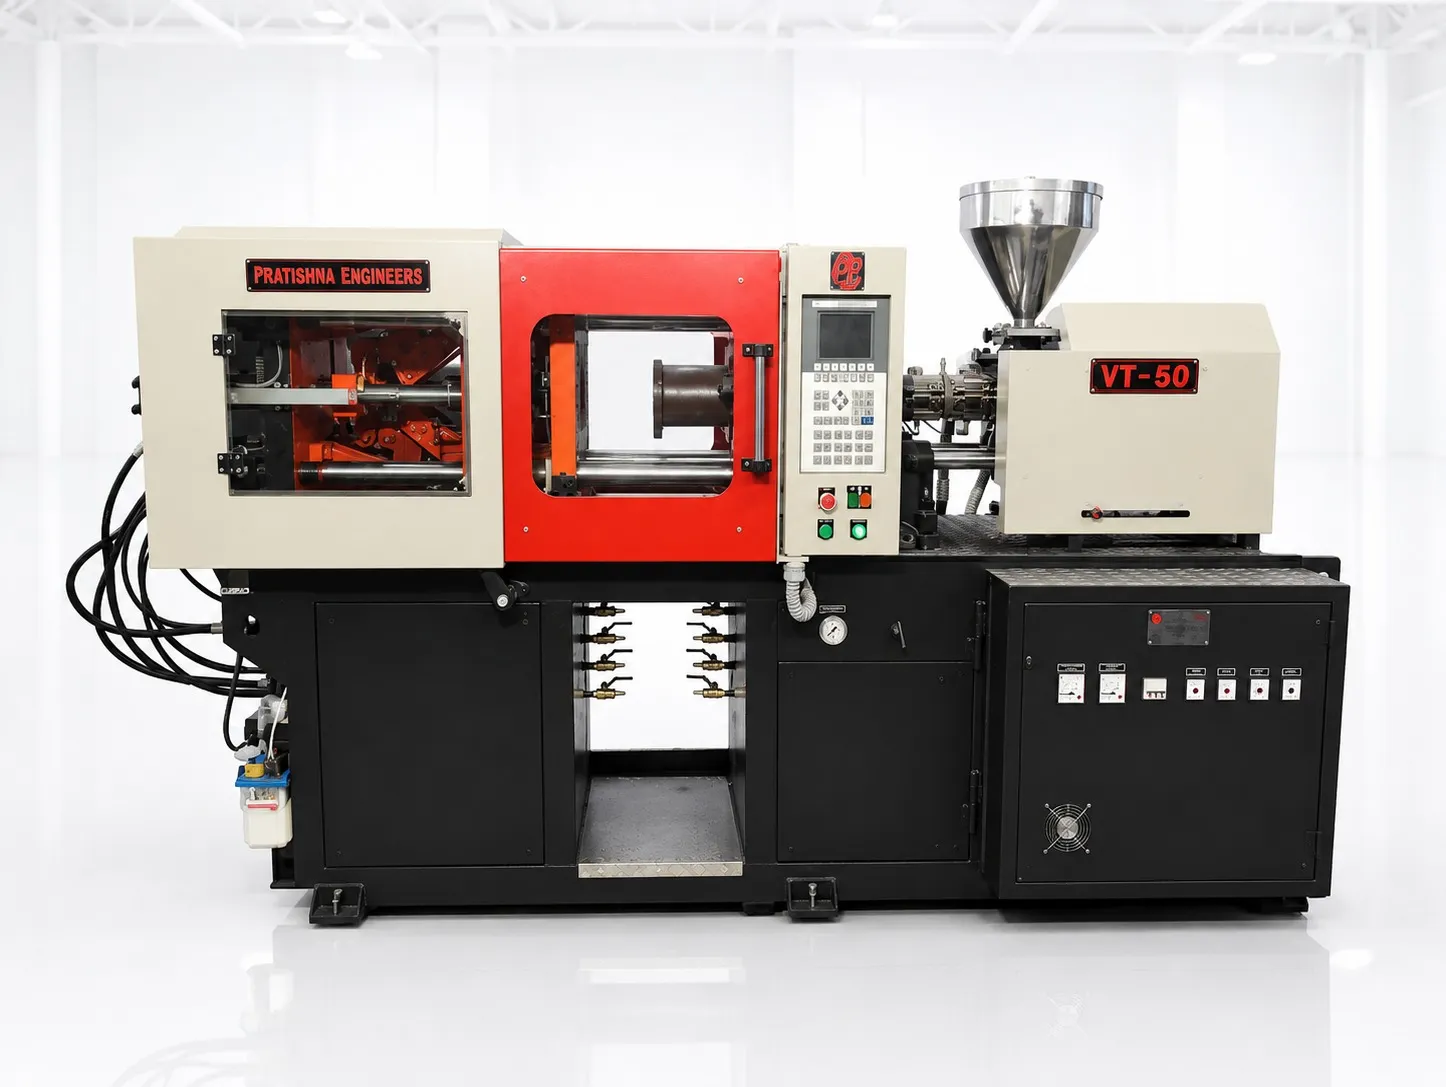
Pick one high-volume mould. Log its cycle phases, scrap reasons and first-good-part time after changeover for a week, then change one lever at a time and compare good parts per hour. If the data shows the machine itself is the limit, see the injection moulding machine range to plan the replacement.
Frequently Asked Questions About Moulding Productivity
How much of a moulding cycle is usually cooling time?
It varies with wall thickness and material. In one published trial on a 3.3 mm ABS part, cooling took about 85% of the cycle. Thick walls push the share up, because cooling time grows with the square of thickness. Read the phase times on your controller to see your own split.
Should I lower chilled water temperature to cut cycle time?
Not as a first step. Faster heat removal usually comes from more flow through clean, adequately sized channels rather than colder water. Colder water also costs more: raising chilled water by 1 °C cuts chiller cost by about 3%. Check flow and channel condition before you change the setpoint.
Is it cheaper to switch off an idle moulding machine?
Often, for long stops. Trade measurements show idling machines drawing 52% to 97.5% of full moulding energy, and idle periods longer than about 1.5 hours may be cheaper to switch off and restart. For shorter stops, restart scrap and heating time can outweigh the energy saved.
How do blocked vents reduce productivity?
Trapped air stops the melt filling the cavity, giving short shots, burns and voids. Operators then raise injection pressure to compensate, which often brings flash and variation. Both add scrap and stops. Cleaning vents at every mould service and checking that clamping has not coined them shut prevents most of this.
Can a thinner wall really cut cycle time?
Yes, because cooling time rises roughly with the square of wall thickness. A wall 20% thinner needs about 36% less cooling, and doubling a wall can need three to four times as long. The part must still meet its strength and stiffness needs, so agree any change with the product designer.
Related Articles
- Plastic Injection Molding Machine: Enhancing Efficiency and Precision in Manufacturing
- Plastic Injection Machine: Revolutionizing Mass Production
- Horizontal Injection Moulding Machines: Maximizing Production Efficiency
- Why Automatic Injection Moulding Machines Are Perfect for Mass Production
Sources & References
- RJG Inc.: How to Determine Injection Molding Cooling Time (Mar 2021)
- PlasticsToday, R. Kent: Getting to know your real energy use and cost (Jan 2010)
- MoldMaking Technology, S. Shannon: How to Determine the Proper Vent Depth (Mar 2019, updated Dec 2024)
- MSEDCL: kVAh Billing: Frequently Asked Questions
Technical Disclaimer
Disclaimer: The information provided in this document is for general informational and educational purposes only. It is based on technical references and industry information available at the time of preparation and may be subject to change. It does not constitute engineering, technical, commercial or professional advice, nor does it constitute a quotation, specification, warranty or contractual commitment by Pratishna Engineers.
Actual injection moulding machine and process requirements vary according to the component design, material, mould, production volume, machine configuration and operating conditions. The information, examples, calculations and recommendations provided should be independently evaluated and verified for the specific application before making any equipment, process or production decision. Information obtained from third-party sources remains subject to the accuracy and limitations of those sources.
Limitation of Liability: Pratishna Engineers makes no representation or warranty, express or implied, regarding the completeness, accuracy or suitability of the information for any particular application. To the extent permitted by applicable law, Pratishna Engineers shall not be liable for any loss, damage, cost or consequence arising from reliance on or use of the information contained in this document. Final machine selection, configuration and application suitability should be confirmed with Pratishna Engineers based on complete and accurate project requirements.